Beta Alp 4.0

A collection of information as it arises. There's not a lot out there!

Saturday, January 28, 2006

Pleasant saturday ride

I'm using my excuse to get to know the bike as a reason to get out as amny weekends as possible. Today was beautiful weather and I covered someof my favourite Derbyshire lanes.
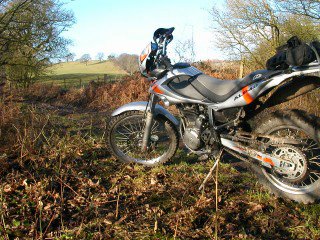
Alp on Derbyshire Lane

This is a view from what is probably my ultimate unsurafced country road. There's an ascent that needs a little care, lovely views, old pack horse paving stones and at the end a farmer with a pretty good attitude.

The bike ran well and once my arms had warmed up I felt pretty coordinated. The OE rear Karoo tyre was struggling for grip at many points where there were wet rocks and tree roots. No offs though.

I'm still thinking the rear brake lever needs raising a little more, I wonder if the adjuster is long enough?
Monday, January 23, 2006

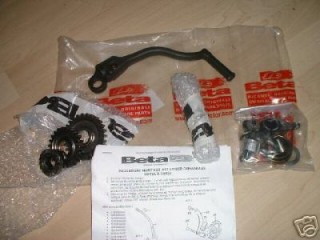
Kick start kit

I've noticed that a kick start kit was available from a vendor on ebay.fr. All the 350's in the UK seem to have come with it, but this shows that it is available as a bag of bits if you don't have one. Incidentally it sold for 50 Euros.

Kick start kit from Beta

I find it prety hard to use the kick start whether the engine is cold or hot.

Sunday, January 22, 2006

Short rides

The last 2 sundays I've gone out for short trips to try to get used to the bike and to improve my negligible skill. In particular I've been practising trials-style turns having seen a very good online video (Trials Training Center). The key is to tilt the bike against your inner leg and twist your shoulders into the turn too. Push down on the inner bar, outer elbow high. I've not got full lock circles or figure-8's yet but am getting closer. The clutch is heavy!

This week I also tried a local limestone ascent and a muddy valley trail. I don't like the now-worn Karoos on limestone, there's almost no grip. On the mud I found the bike stable and if an occasional puddle was ridden too, the tyres stayed clear. Without a puddle they clogged quickly and the they'll spit you off. I feel happier letting the back end go its own way than I have been on other machines and hopefully I'll get more used to it.

I tried the mud in both 1st and 2nd. Just as slower in second but with a tiny anount of clutch slip. The engine felt close to stalling on occasion but the reduced torque at the wheel felt to give less risk of slipping the wheel due to an inadvertent throttle blip.

With the new mini indicators and flexible plate the drops didn't damage anything.

I'm also getting used to the too-long-sidestand. With care it is possible to find a raised spot for a wheel and then the stand seems fine.

Sunday, January 08, 2006

Small indicators

A week or so ago I fitted a set of not-quite-legal wobbly indicators. These are silicone-bodied and really quite small. They mount with a 6mm bolt and the wire exits separately.

The broken bracket was repaired with solvent glue and then a brass sheet trimmed and overlaid.
The brass repair plate

Naturally the wiring job was a little more complex than it should have been...

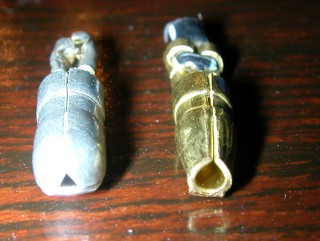
The indicators are fitted with bullet connectors and so is the bike's wiring loom - unfortunately they aren't the same diameter! The indicators are fitted with 'Japanese' ones wihich are a spot smaller than 'European'.
The different sizes of bullet connectors
Oh well, that's what soldering irons are for. For neatness I used heatshrink tubing as sheathing as the originals had a rubber cover which I couldn't find a replacement for locally. The front indicators connect behind the headlight, the rears within the rearlamp assembly having passed through sealing washers. Putting WD40 on the wires helped removal and refitting.
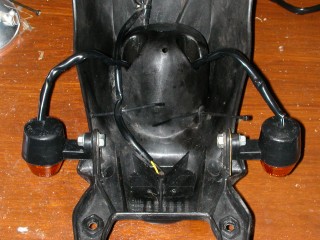
The rear indicators fitted onto mudguard assembly
The end result looks pretty good and works fine. The flash rate is slightly faster as the bulbs are lower wattage but not a silly speed.

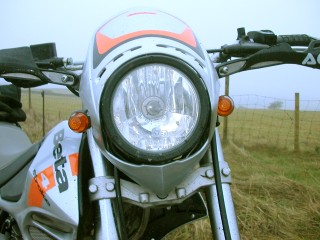
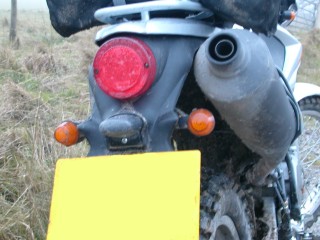
Front indicators fitedRear indicators